

Hey there, fellow greenhouse enthusiasts! I'm [Your Name], and I'm stoked to share my expertise on installing flexible cob led strips in your greenhouse. As a supplier of top-notch flexible cob led strips, I've seen firsthand how these lights can transform a greenhouse into a thriving oasis. So, let's dive right in and get your greenhouse lit up!
Why Choose Flexible COB LED Strips for Your Greenhouse?
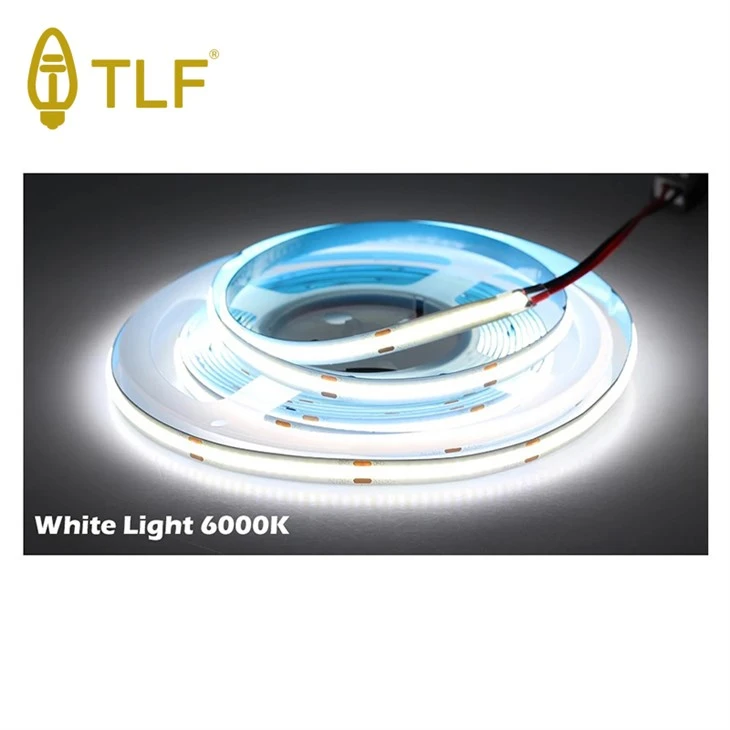
Before we jump into the installation process, let's talk about why flexible COB LED strips are a game-changer for greenhouse lighting. COB, or Chip-on-Board, technology packs multiple LED chips onto a single module, delivering high-intensity light in a compact and efficient package. This means you get more light output with less energy consumption, which is a win for both your plants and your wallet.
Flexible COB LED strips offer several advantages over traditional lighting options:
- Customizable Lighting: You can easily cut the strips to fit your specific greenhouse layout and adjust the light intensity and color temperature to meet the needs of your plants at different growth stages.
- Uniform Light Distribution: The flexible design allows you to install the strips in a variety of configurations, ensuring even light coverage across your entire greenhouse.
- Energy Efficiency: COB LED strips use up to 80% less energy than traditional lighting, reducing your electricity bills and environmental impact.
- Long Lifespan: With an average lifespan of 50,000 hours or more, COB LED strips require less frequent replacement, saving you time and money in the long run.
Step 1: Plan Your Lighting Layout
The first step in installing flexible COB LED strips in your greenhouse is to plan your lighting layout. Consider the following factors:
- Plant Requirements: Different plants have different light requirements, so it's important to choose the right color temperature and light intensity for your specific crops. For example, leafy greens and herbs typically thrive under cool white light (around 6000K), while flowering plants and fruits prefer warm white light (around 3000K). You can find a wide range of color temperatures in our 4000k Cob Led collection.
- Greenhouse Size and Shape: Measure the length, width, and height of your greenhouse to determine how many strips you'll need and where to install them. You may also want to consider the layout of your benches, shelves, and other structures to ensure that the light reaches all areas of your plants.
- Mounting Options: Flexible COB LED strips can be mounted using adhesive tape, brackets, or clips. Choose the mounting method that works best for your greenhouse and the type of surface you'll be attaching the strips to.
Step 2: Gather Your Tools and Materials
Once you've planned your lighting layout, it's time to gather the tools and materials you'll need for the installation. Here's a list of essentials:
- Flexible COB LED Strips: Choose the right length, color temperature, and wattage for your greenhouse. You can find a variety of options in our 24v Cob Led Strip Light and 24v Cob Led Strip collections.
- Power Supply: Make sure you have a compatible power supply with the correct voltage and wattage for your LED strips. You can find power supplies in our store or consult with our experts for recommendations.
- Mounting Hardware: Depending on your chosen mounting method, you'll need adhesive tape, brackets, clips, or screws.
- Wire Connectors: Use wire connectors to join the LED strips together and connect them to the power supply.
- Tools: You'll need a pair of scissors or a utility knife to cut the LED strips, a drill (if using screws), and a screwdriver.
Step 3: Install the LED Strips
Now it's time to install the LED strips in your greenhouse. Follow these steps:
- Prepare the Surface: Clean the surface where you'll be mounting the LED strips to ensure a strong adhesion. If using adhesive tape, make sure the surface is dry and free of dust and debris.
- Cut the LED Strips: Use a pair of scissors or a utility knife to cut the LED strips to the desired length. Make sure to cut along the designated cutting marks on the strips to avoid damaging the LEDs.
- Mount the LED Strips: Depending on your chosen mounting method, attach the LED strips to the surface using adhesive tape, brackets, clips, or screws. Make sure the strips are straight and evenly spaced.
- Connect the LED Strips: Use wire connectors to join the LED strips together and connect them to the power supply. Make sure to follow the manufacturer's instructions for wiring and polarity.
- Test the LED Strips: Before fully installing the LED strips, plug in the power supply and test the lights to make sure they're working properly. If any of the LEDs are not lighting up, check the connections and make sure the power supply is providing the correct voltage.
Step 4: Adjust the Lighting
Once the LED strips are installed and working properly, it's time to adjust the lighting to meet the needs of your plants. You can do this by:
- Adjusting the Light Intensity: Most COB LED strips come with a dimmer switch or can be controlled using a smart home system. Adjust the light intensity to provide the right amount of light for your plants at different growth stages.
- Changing the Color Temperature: If your LED strips are adjustable, you can change the color temperature to provide the optimal light spectrum for your plants. For example, you can switch to a warmer color temperature during the flowering stage to promote fruit and flower development.
- Timing the Lighting: Set a timer to turn the lights on and off at the same time each day to mimic the natural day-night cycle. This will help your plants grow healthy and strong.
Step 5: Maintain the LED Strips
To ensure the longevity and performance of your flexible COB LED strips, it's important to maintain them properly. Here are some tips:
- Keep the Strips Clean: Regularly clean the LED strips with a soft, dry cloth to remove dust and debris. Avoid using harsh chemicals or abrasive materials, as these can damage the LEDs.
- Check the Connections: Periodically check the connections between the LED strips and the power supply to make sure they're secure. Loose connections can cause the lights to flicker or stop working.
- Replace Damaged Strips: If any of the LED strips are damaged or not working properly, replace them immediately to avoid affecting the performance of the other strips.
Conclusion
Installing flexible COB LED strips in your greenhouse is a great way to provide your plants with the optimal lighting they need to thrive. By following these steps and using high-quality LED strips from a trusted supplier, you can create a customized lighting system that meets the specific needs of your crops.
If you have any questions or need help choosing the right LED strips for your greenhouse, don't hesitate to [contact us]([Your Contact Page URL]). We're here to help you every step of the way. And if you're ready to place an order, head over to our website and browse our wide selection of flexible COB LED strips.
Thanks for reading, and happy growing!

References
- "LED Lighting for Greenhouses." University of Minnesota Extension.
- "The Benefits of COB LED Lighting in Greenhouses." Greenhouse Grower.
- "How to Choose the Right LED Lighting for Your Greenhouse." Gardening Know How.