Installing 5050 RGB LED strip lights on a ceiling can transform the ambiance of any room, adding a touch of color and creativity. As a supplier of high - quality 5050 RGB LED strip lights, I'm excited to share a comprehensive guide on how to install these lights on your ceiling.
Step 1: Planning Your Installation
Before you start the installation process, you need to have a clear plan. First, measure the length of the area on the ceiling where you want to install the LED strip lights. This will help you determine how much strip light you need to purchase. Make sure to account for any corners or curves in the ceiling.
Next, decide on the layout of the lights. You can choose to run the strips in a straight line, create a border around the perimeter of the ceiling, or even design a custom pattern. Consider the overall aesthetic you want to achieve and how the lighting will interact with the existing decor in the room.
Step 2: Gathering the Necessary Tools and Materials
To install 5050 RGB LED strip lights on your ceiling, you'll need the following tools and materials:
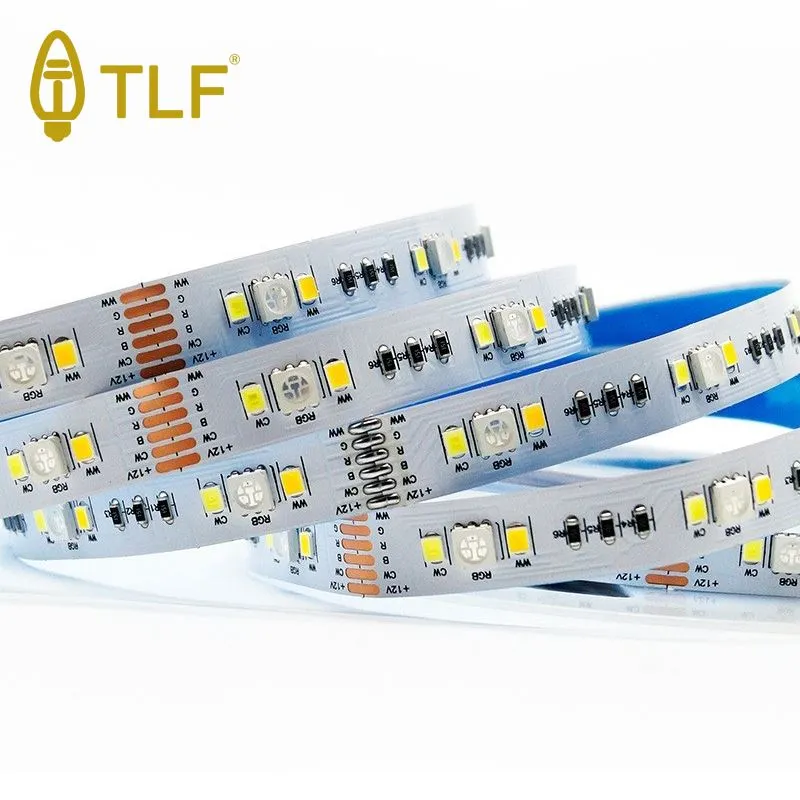
- 5050 RGB LED strip lights: We offer a wide range of 5050 RGB LED Strip Lights for Hotel that are perfect for both commercial and residential use. These lights provide vibrant colors and excellent brightness.
- Power supply: Ensure that the power supply you choose is compatible with the length and wattage of your LED strip lights. It's important to select a power supply with the correct voltage and amperage to avoid overheating or damage to the lights.
- Controller: A controller allows you to change the colors and lighting effects of the LED strip lights. There are various types of controllers available, including remote - controlled and smartphone - controlled options.
- Double - sided tape or mounting clips: These are used to secure the LED strip lights to the ceiling. Double - sided tape is a quick and easy option, while mounting clips provide a more secure and permanent installation.
- Soldering iron and solder (optional): If you need to connect multiple strips together or make custom connections, a soldering iron and solder will be necessary.
- Wire cutters and strippers: These tools are used to cut and strip the wires for connecting the LED strip lights to the power supply and controller.
Step 3: Preparing the Ceiling
Before installing the LED strip lights, you need to prepare the ceiling surface. Clean the area where you plan to install the lights to remove any dust, dirt, or debris. This will ensure that the double - sided tape or mounting clips adhere properly.
If the ceiling has any uneven surfaces or bumps, you may need to sand them down or fill them with spackle to create a smooth surface for installation.
Step 4: Cutting and Connecting the LED Strip Lights
Most 5050 RGB LED strip lights can be cut at specific intervals, usually marked on the strip. Use wire cutters to cut the strip to the desired length. Make sure to cut along the designated cutting lines to avoid damaging the LED chips.
If you need to connect multiple strips together, you can use soldering or connectors. Soldering provides a more reliable connection, but it requires some skill and the use of a soldering iron. Connectors are a simpler option and can be easily attached without the need for soldering.
Step 5: Mounting the LED Strip Lights
There are two common methods for mounting the LED strip lights on the ceiling: using double - sided tape or mounting clips.
Using Double - Sided Tape
- Peel the backing off the double - sided tape on the back of the LED strip light.
- Carefully align the strip with the planned layout on the ceiling and press it firmly into place.
- Make sure to smooth out any air bubbles or wrinkles in the tape to ensure a secure bond.
Using Mounting Clips
- Attach the mounting clips to the ceiling at regular intervals, following the layout of the LED strip lights.
- Slide the LED strip into the mounting clips, making sure it is securely held in place.
Step 6: Connecting the Power Supply and Controller
Once the LED strip lights are mounted on the ceiling, it's time to connect them to the power supply and controller.
- Connect the positive and negative wires of the LED strip lights to the corresponding terminals on the power supply. Make sure to follow the wiring diagram provided with the power supply and LED strip lights.
- Connect the controller to the power supply and the LED strip lights according to the instructions. This will allow you to control the colors and lighting effects of the lights.
Step 7: Testing the Installation
Before completing the installation, it's important to test the LED strip lights to ensure they are working properly.

- Plug in the power supply and turn on the controller.
- Check if the lights turn on and if you can change the colors and lighting effects using the controller.
- If any issues are detected, such as a section of the lights not working or a color not displaying correctly, double - check the connections and make any necessary adjustments.
Step 8: Finishing Touches
Once the LED strip lights are tested and working correctly, you can add any finishing touches to the installation. This may include hiding the wires using cable management solutions or adding a diffuser to soften the light.
Additional Tips and Considerations
- Safety First: Always turn off the power supply before making any connections or adjustments to the LED strip lights. This will prevent the risk of electric shock.
- Choose the Right Location: Consider the location of the power supply and controller to ensure easy access for operation and maintenance.
- Weatherproofing: If you are installing the LED strip lights in an area that may be exposed to moisture, such as a bathroom or outdoor area, choose RGB LED Strip Waterproof to prevent damage to the lights.
- Maintenance: Regularly clean the LED strip lights to remove any dust or debris that may accumulate over time. This will help maintain their brightness and performance.
Conclusion
Installing 5050 RGB LED strip lights on a ceiling is a rewarding project that can enhance the look and feel of any room. With the right tools, materials, and a little patience, you can create a stunning lighting display that adds a unique touch to your space.
As a supplier of 5050 RGB Multi Color LED Strips, we are committed to providing high - quality products and excellent customer service. If you have any questions about our products or need assistance with your installation, please feel free to contact us for procurement and further discussion.
References
- LED Lighting Handbook: A Guide to LED Technology, Applications, and Design
- Lighting Design Basics: Principles and Practices for Creating Effective Lighting Solutions